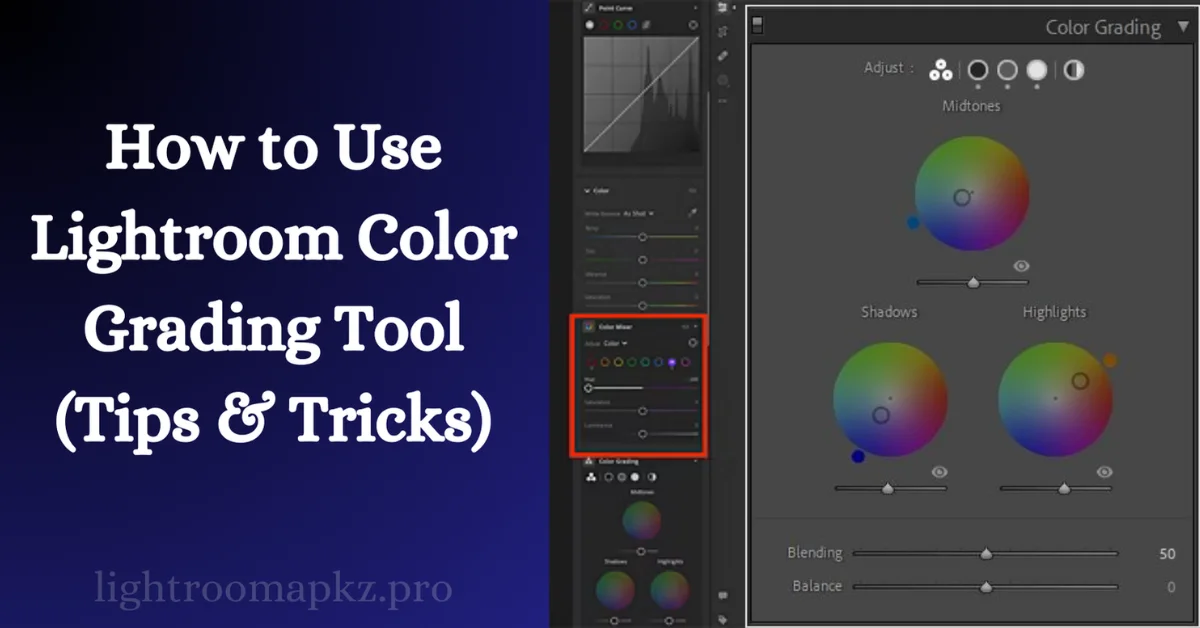
HOW TO USE THE COLOR GRADING TOOL IN LIGHTROOM
Most people are looking confused when they are trying to use the Lightroom color grading tool. Color grading is more than just a step in photo editing; it’s the art of setting the mood, telling a story, and creating a visual experience that captivates the viewer. Whether you’re a seasoned photographer or just starting, mastering color grading in Lightroom is essential for taking your images to the next level.
In this blog, we’ll cover in detail what color grading is, why it’s essential for your photography, and how to master it using Lightroom’s powerful tools. By the end, I am sure that you’ll have the skills to excel your editing and bring your creative vision to life.
Basics of Color Grading in Lightroom
Color grading in Lightroom is the key to transforming your photos from simple edits to stunning visuals. It’s not just about correcting colors; it’s about creatively adjusting them to set the mood and tone of your images.
What is Color Grading?
Simply put, color grading is the process of enhancing your images by adjusting the color balance across shadows, midtones, and highlights. Unlike basic color correction, which fixes issues, color grading is all about artistic expression and style.
Essential Tools for Color Grading in Lightroom
Lightroom provides powerful tools to help you achieve professional color grading:
These tools form the foundation of Lightroom color grading, helping you craft unique and visually appealing images.
Step-by-Step Guide For Using Lightroom Color Tools
In this section, we’ll walk through the process of color grading in Lightroom, step by step. Whether you’re new to this or looking to refine your skills, this guide will equip you with the know-how to achieve stunning, professional results.
Import and Select Your Image
Start by importing your photo into Lightroom. Choose an image that could benefit from color enhancement. Once imported, head over to the Develop module where all the magic happens.


Basic Adjustments
Before diving into color grading, it’s essential to make basic adjustments. These steps lay the foundation for effective color grading.
- Exposure: Adjust the overall brightness of your image.
- Contrast: Enhance the difference between light and dark areas.
- White Balance: Set the tone by adjusting the temperature and tint.
Using the HSL Panel
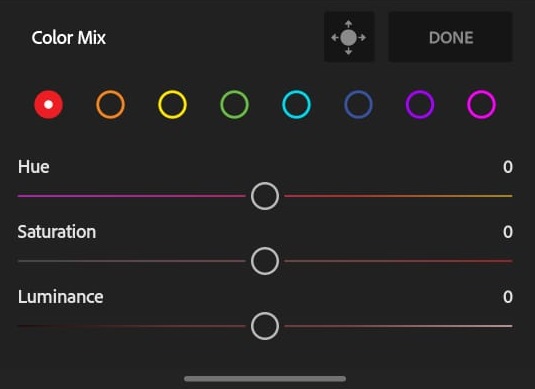
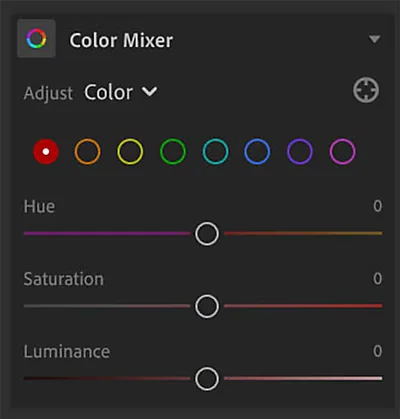
The Lightroom HSL panel is perfect for fine-tuning individual colors.. Now, let’s start with the HSL Panel:
- Hue: Adjust the color itself. For instance, shift blues to teal or greens to yellow.
- Saturation: Increase or decrease the intensity of specific colors.
- Luminance: Control the brightness of individual colors, adding depth to your photo.
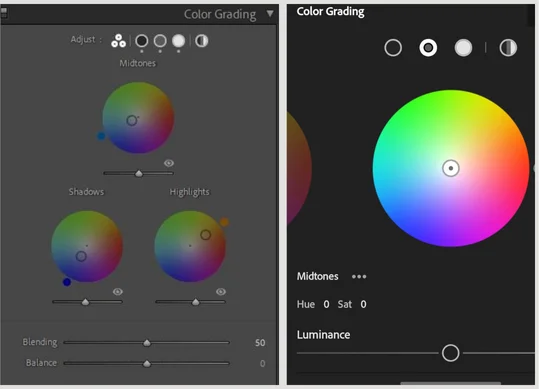
Applying the Color Grading Panel
Next, move to the Color Grading Panel:
Experiment with these settings until you achieve the desired mood. Use the blending and balance sliders to harmonize the colors across your image.
Fine-Tuning with the Tone Curve
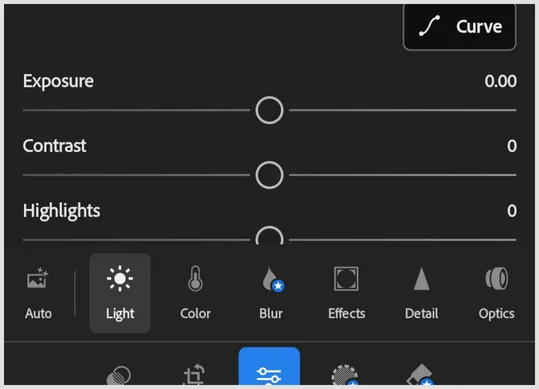
For additional control, use the Tone Curve:
This tool allows you to subtly refine the color grading to match your vision.
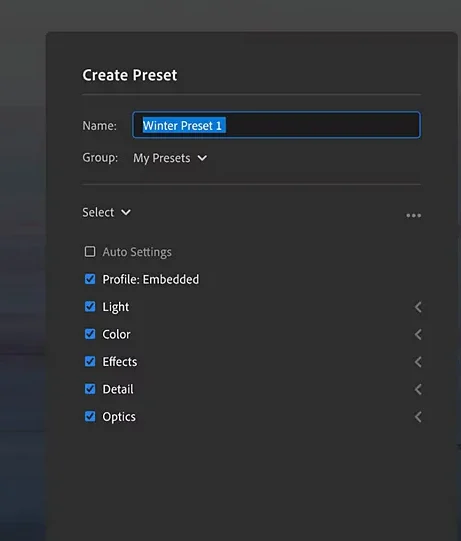
Save and Apply Presets
To streamline your workflow, save your settings as a Lightroom color grading preset. This way, you can quickly apply your favorite grading style to other photos with a single click. You can also explore and download Lightroom color grading presets to speed up the process.
We are providing numerous top and trending Lightroom presets. Designed and set by our expert graphic and photographers. You can download these presets from here.
Exporting Your Color Graded Photo
Finally, export your image with the optimal settings to ensure the colors remain vibrant across all platforms. Use the highest quality settings to preserve the detail and color accuracy of your photo.
By following this step-by-step guide, you’ll be able to master color grading in Lightroom and bring your photos to life with vibrant, professional-quality edits.

Conclusion
Lightroom color grading is a powerful tool that can transform your photography, taking it from good to extraordinary. Throughout this blog, you’ve learned the essentials of color grading, from the basic concepts to advanced techniques, and the difference between color grading and presets.
By avoiding common mistakes and practicing with the tools available in Lightroom, you’ll be able to refine your skills and create images that truly reflect your artistic vision. Whether you choose to dive deep into manual color grading or use presets for quick edits, the key is to experiment and find what works best for your style.
Remember, the goal is not just to edit photos but to tell a story through your images. With the right color grading techniques, you can evoke emotions, set the mood, and make your photos stand out. Keep practicing, stay curious, and continue exploring the endless possibilities that Lightroom offers. Your journey to mastering color grading is just beginning, and the results will be well worth the effort.

